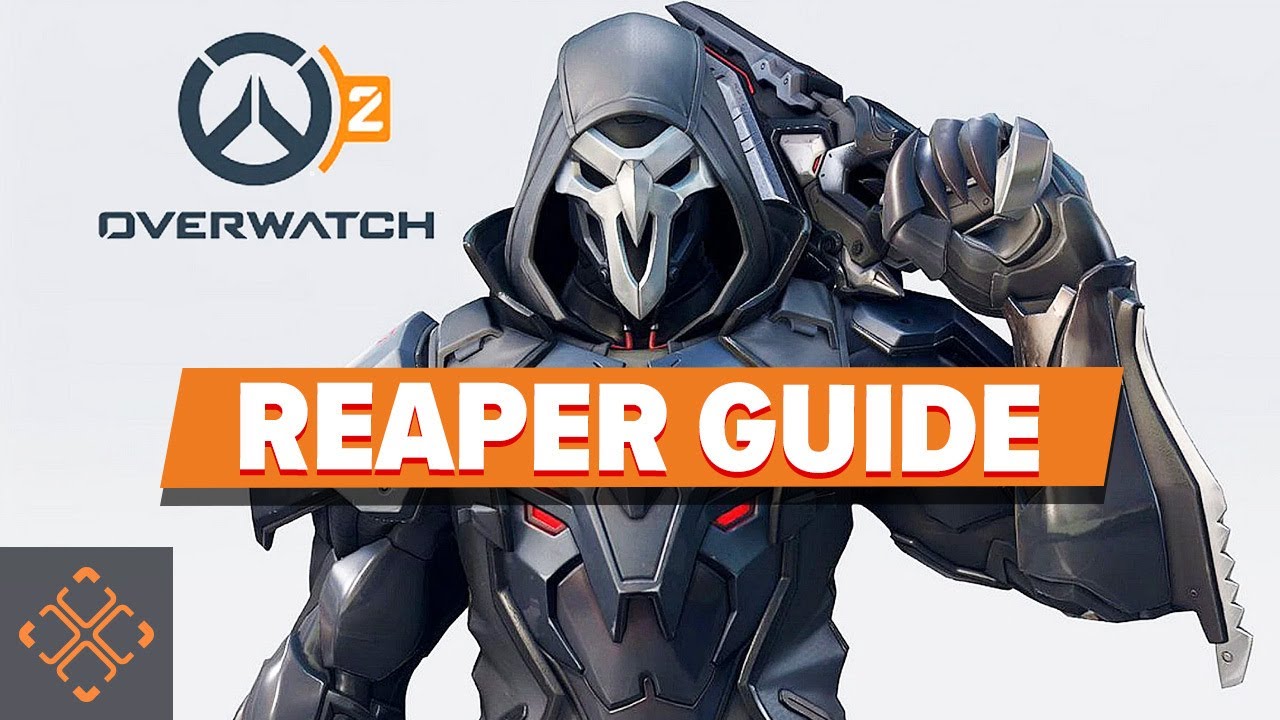
Mastering the dual-wielding king of edgelords requires more than just a brooding attitude and a collection of skull masks. While many new players rush into the fray expecting to easily brute-force their way to a team wipe, successful veterans know that effective Reaper gameplay demands the patience of a hunter and the precision of a ghost. In this comprehensive guide, we will cover everything from essential cooldown management to mastering the 5v5 dynamic, giving you the tactical depth needed to dominate matches and secure those elusive backline eliminations.
Understanding Reaper’s Kit in the Modern Meta
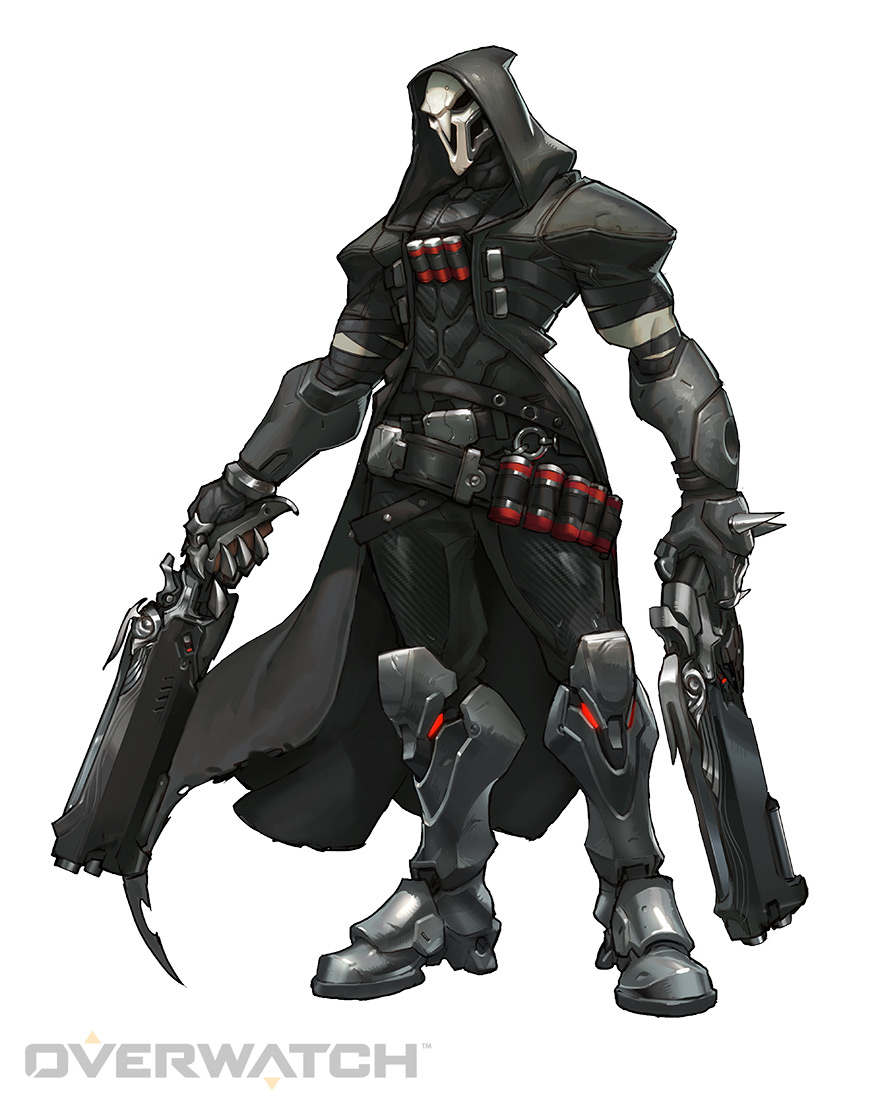
Before diving into advanced flanking routes, you must understand the tools at your disposal. Reaper is designed to excel in close-quarters combat, utilizing his passive abilities and high burst damage to sustain himself while dismantling the enemy team’s core.
- Hellfire Shotguns: Twin massive-damage shotguns that excel at point-blank range but suffer heavy damage falloff from a distance.
- The Reaping (Passive): Reaper heals for a percentage of the damage he deals. This lifesteal is crucial for surviving duels with high-health targets.
- Shadow Step: A targeted teleport that allows you to bypass chokepoints and claim the high ground unseen.
- Wraith Form: A brief state of invulnerability and increased movement speed that automatically reloads your shotguns and cleanses negative status effects.
- Death Blossom (Ultimate): A devastating area-of-effect spin attack that deals massive damage to all nearby enemies.
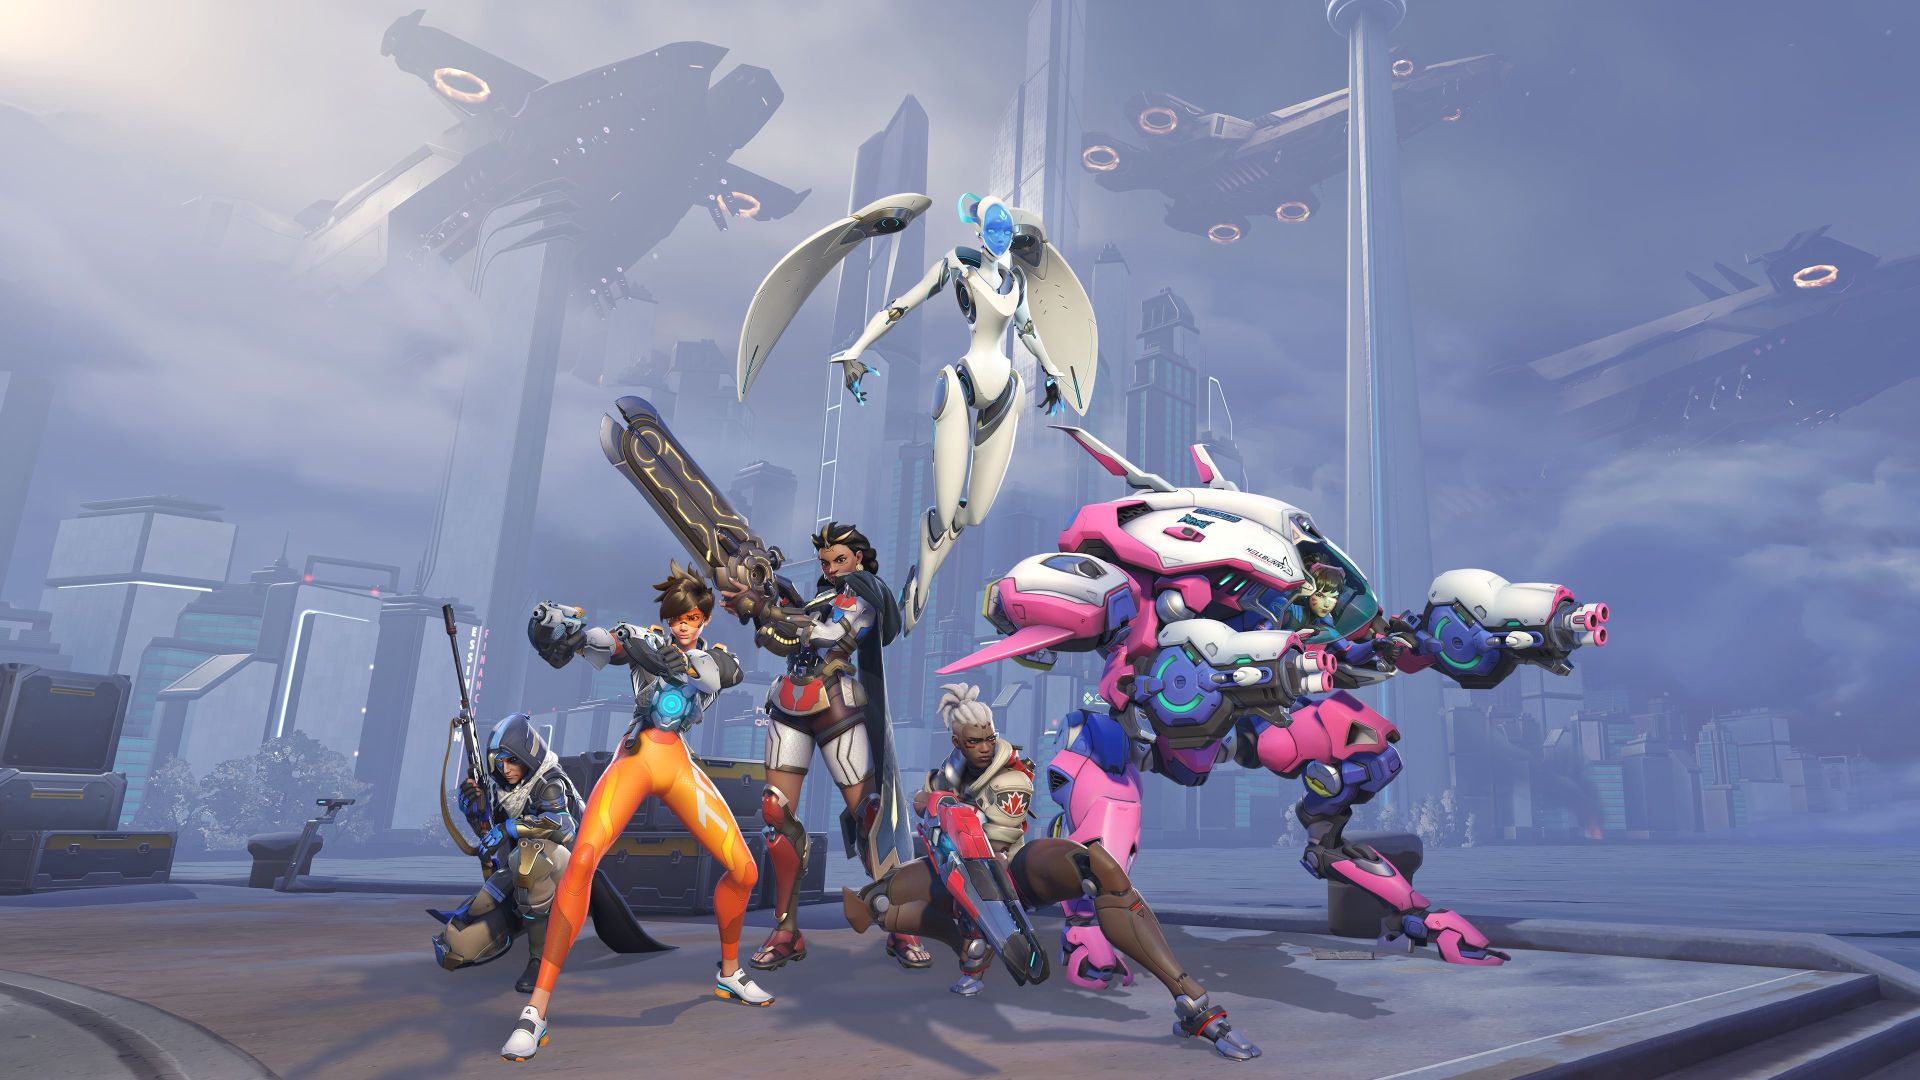
In the transition to Overwatch 2, the shift to a 5v5 format with a single tank drastically altered how this hero is played. With one less tank to peel for the enemy supports, the backline is more vulnerable than ever. Furthermore, the universal DPS passive, which briefly reduces the healing an enemy receives when you damage them, makes your point-blank ambushes incredibly lethal.
Map Geometry and Ideal Positioning
Success as a flanker hinges on your ability to treat every map like a stealth mission. You are not a frontline soldier; you are the shadow that makes enemy support players question their positioning.
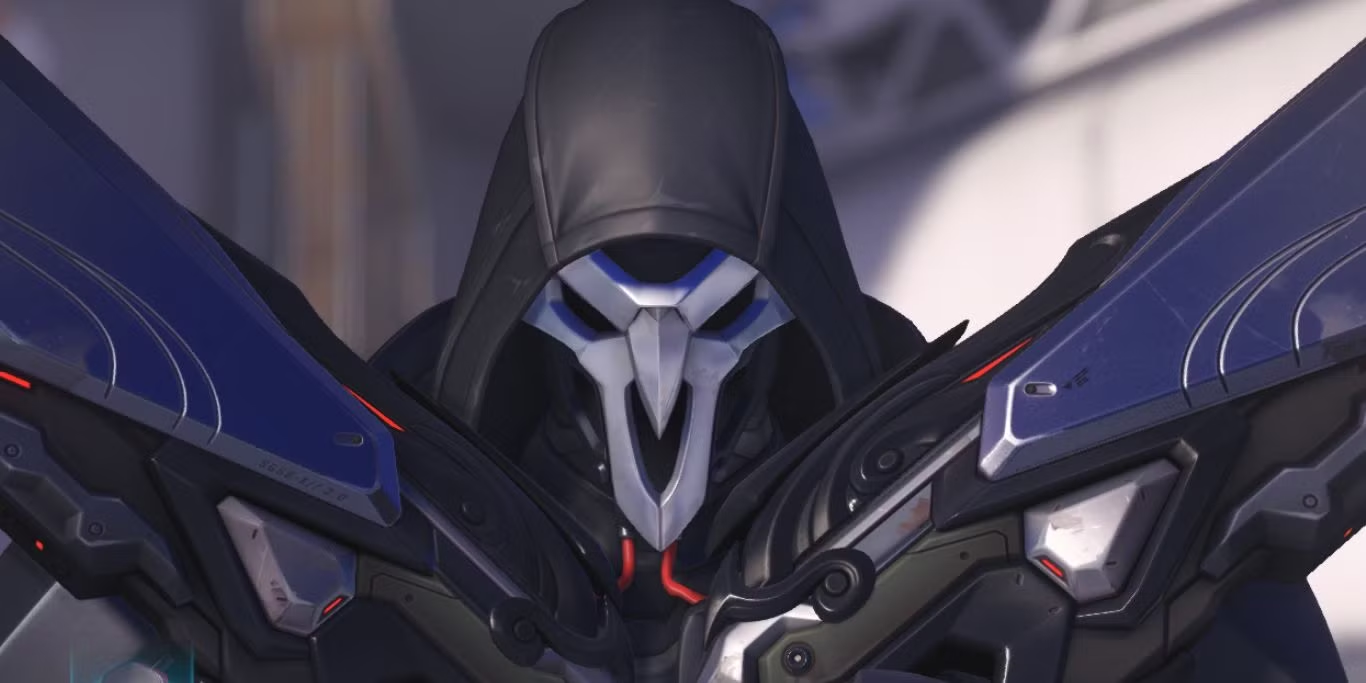
Study the geometry of each arena to find vertical shortcuts that bypass enemy sightlines. Reaper thrives on close-quarters maps with plenty of hard cover and tight corridors, such as Lijiang Tower, King’s Row, and Esperança. Conversely, you will need to adjust your playstyle or consider swapping heroes on maps with long sightlines like Havana or Circuit Royal, where snipers can easily pick you off before you get into your effective range.
Patience yields better results than frantic pushing. Wait for your single tank to initiate the chaos, then drop from a high ledge to deliver a face full of buckshot. High-level play demands that you teleport into blind spots rather than into the middle of a crossfire. Maintain a mental map of nearby health packs to sustain your momentum without relying exclusively on your own healers.
Playing Reaper in Overwatch: Mastering Your Cooldowns
Effective cooldown management separates the legends from the respawn screen regulars. Your abilities are tools for positioning and survival, not just flashy engage mechanics.
Shadow Step: The Setup
Entering the fray requires impeccable timing. Shadow Step allows you to seize the high ground or ghost into the backline without alerting the opposition. The key is to teleport completely out of sight. If the enemy hears your voice line and sees your materializing silhouette, you have already lost the element of surprise. Use this ability to set up your ambush, waiting for the exact moment the enemy tank commits their defensive abilities.
Wraith Form: The Escape
Committing to a duel means knowing exactly when to fold. Wraith Form serves as your personal reset button. While activating it instantly reloads your weapons, which can be useful in a desperate 1v1, saving this ability primarily for survival is mandatory.
- Do: Use Wraith Form to retreat to your team or a mega health pack when your health gets dangerously low.
- Do: Use it to cleanse debilitating effects like Ashe’s Dynamite burn or Ana’s Biotic Grenade anti-heal.
- Don’t: Use Wraith Form to charge directly at an enemy. This leaves you completely vulnerable with no escape route once you arrive.
Matchups: Knowing Your Targets
Your shotguns hit like a truck, but target prioritization determines your actual value in a match. Playing Reaper in Overwatch requires critical thinking skills. Chasing a highly mobile hero is often a fool’s errand that leaves you vulnerable to kiting.
Who Reaper Counters
Focus your aggression on large-hitbox targets. You are the premier tank-buster in Overwatch 2. Heroes like Winston and Roadhog are massive targets that catch every pellet of your weapon spread. By attacking them, you sustain your own health through The Reaping while melting their health pools in seconds.
Who Counters Reaper
Avoid trying to duel heroes who can easily stay out of your effective range. Pharah and Echo will bombard you from the sky where your shotguns do practically zero damage. Similarly, a skilled Widowmaker or Hanzo will eliminate you from afar if you try to cross open ground. If the enemy runs these heroes, you must rely entirely on stealthy interior routes, or consider switching to a hitscan hero.
Death Blossom Do’s and Don’ts
Dropping from the ceiling and pressing your ultimate key might look flashy, but poor planning usually ends with your immediate death. You are incredibly vulnerable the moment you spin into a room full of stuns and shields. Tracking enemy crowd control is your primary job before committing to Death Blossom.
- DO drop from the high ground: Activate your ultimate mid-air while falling into the enemy team to give them less time to react.
- DO track enemy cooldowns: Wait until defensive and interrupt abilities are exhausted. Ensure Ana’s Sleep Dart, Orisa’s Energy Javelin, and Sigma’s Accretion are on cooldown before initiating.
- DON’T initiate with Wraith Form: Floating into the middle of the enemy team in Wraith Form clearly telegraphs that you are about to use Death Blossom, allowing them to easily spread out or prepare their stuns.
- DON’T hunt for 5-man team wipes: Securing two guaranteed kills on the enemy supports is more than enough to win a team fight in a 5v5 setting. Don’t hold your ultimate all match waiting for a perfect highlight moment.
Embrace the Shadows and Secure the Win
Mastering the art of high-impact flanking requires a blend of patience and ruthless efficiency. By understanding map layouts, prioritizing close-quarters targets, and tracking critical enemy cooldowns, you transform from a minor nuisance into a battlefield nightmare. Stick to the shadows, wait for the perfect opening, and let your shotguns secure the victory.